A Simple Guide to Emberglaze Poker: How To Be Top at Smoke in Clay
Emberglaze Poker mixes old clay with smart play, blending the art of shiny heat control and craft. This guide offers ways and top tips that make Emberglaze Poker stand out.
Learn the Core Bits
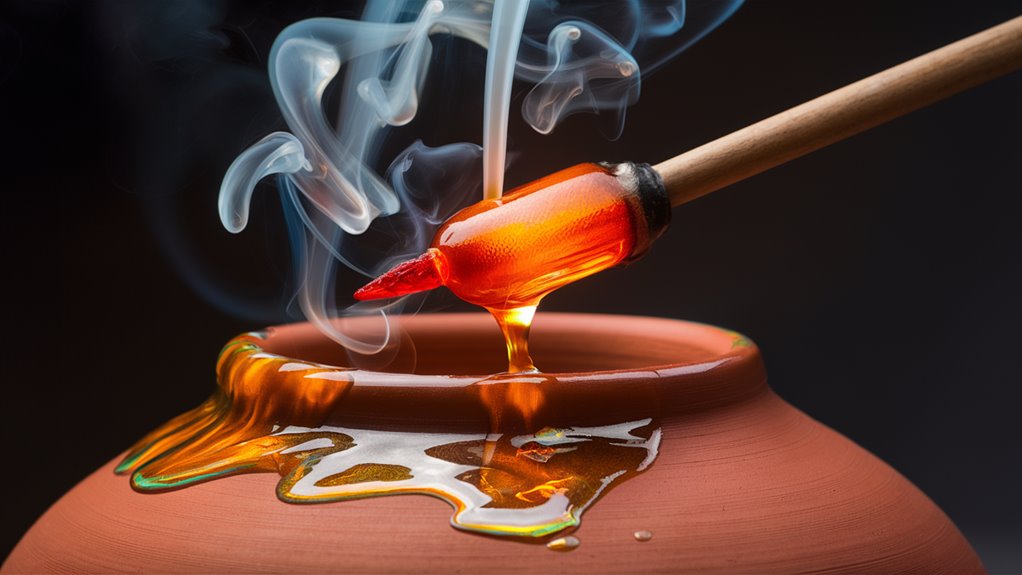
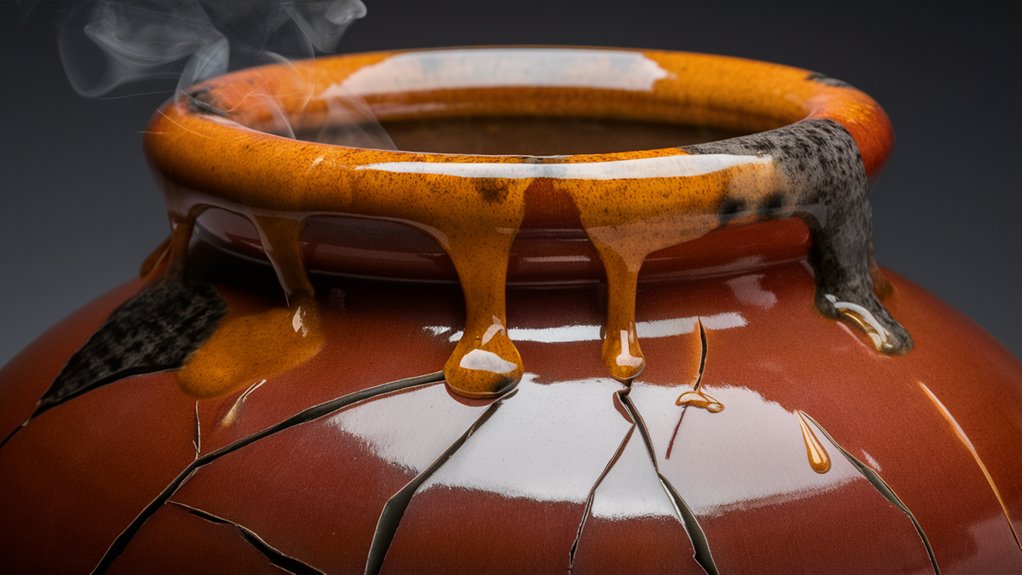
At the core of Emberglaze Poker is the smoke style and shine use. Good shine with the right heat can turn simple pots into artworks. This requires good timing and a deep understanding of heat acts. https://maxpixels.net/
Big Skills and Fresh Art
Heat control is crucial to achieve your goals. How fire heat and shine fix work can create appearances that distinguish expert hands from amateurs. These techniques, combined with smart play, set Emberglaze Poker apart.
Play Meets Craft
This new clay work attracts both players and makers, surpassing traditional poker. Creating pieces requires both artistry and technical skill, expanding this niche in today’s clay scene.
Shine fix and smoke mix create unique pieces, making each one valuable. This combination of skill, strategy, and art defines Emberglaze Poker.
The Tale of Emberglaze Poker
Start and Early Times
Emberglaze Poker began in the late ’90s as a fresh twist on traditional poker, first appearing in Eastern Europe’s secret play spots.
The game originated from a famous Prague card venue, where players introduced the innovative “fire” bet method, allowing extended bet durations.
Growth and Changes
From 1998 to 2001, Emberglaze Poker rapidly spread across the Baltic region, particularly in Estonia, Latvia, and Lithuania.
The game’s mix score rule combined elements from both match and cash game formats, attracting professionals seeking challenging poker experiences.
Rules Set and Now
A significant moment in Emberglaze history occurred in 2003 when Bulgarian mathematician Viktor Petrov published the rules online.
This led to the first Official Emberglaze Match in Sofia (2004), establishing a foundation for new play.
The game’s renowned “shine phase” strategy, showcasing intelligent hints alongside calculated risk, became a hallmark of top-tier play.
Today
Currently, Emberglaze Poker is a renowned name in global poker, with professional matches held in major cities worldwide.
While maintaining its Eastern European roots and the intense gameplay that initially attracted skilled players, it remains a prominent game.
Must-Have Tools and Stuff for Best Emberglaze
Pro Play Things
Pro Emberglaze demands specialized equipment for optimal play. At the core of any setup is a heat-controlled stone table with a heat-resistant top and precise temperature control.
These premium play tables maintain crucial temperatures between 85-95°F (29-35°C) for standard play.
Special Cards
Heat-reactive cards are essential for pro Emberglaze.
Players utilize various top-quality decks designed to function within table temperature limits. These heat-reactive cards offer crucial play signals through unique heat indicators.
Pro Play Chips
Match-grade chip sets include four key heat-sealed pieces:
- Amber (25): Base bet size
- Ruby (50): Mid-value piece
- Obsidian (100): High-value chip
- Phoenix (500): Premium match chip
Top Things for Checks
Professional heat tools aid in decision-making:
- Precise heat guns
- Heat map screens
- Temperature monitors The Psychology Behind Gambling Addiction
Safe and Clean Set
Essential safety equipment includes:
- Heat-resistant play gloves
- Heat vision goggles
- Effective ventilation systems
This ensures a clear line of sight and protection against excessive heat during extended play sessions.
Top Tips to Know Smoke Looks
Know Heat Acts
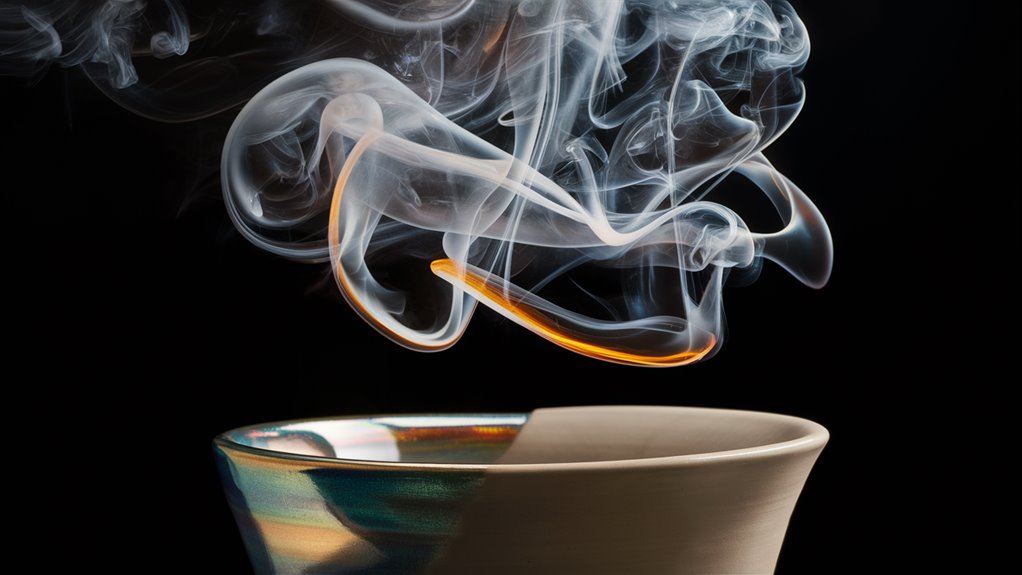
Understanding smoke looks involves mastering heat acts and their impact on the match. The key is directing fire heat to create specific markers that enhance your play.
Heat management and strategic air handling are vital for maintaining high-quality appearances at all times.